Writing Redis Commands
We have written the Serializer and learned how to respond to the Client after receiving any commands.
Now, we will build the CommandsHandler and start writing some Redis commands.
The CommandsHandler
As we mentioned before, the request we receive from the Client will be an RESP Array that tells us which command it wants to send.
So, we always define the Handler based on the command name, which is the first element in the RESP Array, and the rest will be the arguments.
Let’s create a new file called handler.go and define our Handler:
var Handlers = map[string]func([]Value) ValueNow, let’s write the first command, which is PING:
func ping(args []Value) Value {
	return Value{typ: "string", str: "PONG"}
}
And let’s add the PING command to the handler map we created:
var Handlers = map[string]func([]Value) Value{
	"PING": ping,
}
Note that we wrote the command name in capital letters because Redis commands are case-insensitive.
To test the PING command, let’s modify main.go to send the Value object to the handler:
for {
	resp := NewResp(conn)
	value, err := resp.Read()
	if err != nil {
		fmt.Println(err)
		return
	}

	if value.typ != "array" {
		fmt.Println("Invalid request, expected array")
		continue
	}

	if len(value.array) == 0 {
		fmt.Println("Invalid request, expected array length > 0")
		continue
	}

	command := strings.ToUpper(value.array[0].bulk)
	args := value.array[1:]

	writer := NewWriter(conn)

	handler, ok := Handlers[command]
	if !ok {
		fmt.Println("Invalid command: ", command)
		writer.Write(Value{typ: "string", str: ""})
		continue
	}

	result := handler(args)
	writer.Write(result)
}
What we did here is receive the first request and extract the Value object from it. Then, we performed some validations to make sure the command is an array and not empty. After that, we took the first element in the array and converted it to uppercase, which will be the command name. The rest of the elements will be the arguments.
If the explanation is not clear to you, here is an example of a Value object when we say SET name Ahmed:
Value{
	typ: "array",
	array: []Value{
		Value{typ: "bulk", bulk: "SET"},
		Value{typ: "bulk", bulk: "name"},
		Value{typ: "bulk", bulk: "Ahmed"},
	},
}
So, the code above will make the command and args look like this:
command := Value{typ: "bulk", bulk: "SET"}.bulk // "SET"

args := []Value{
	Value{typ: "bulk", bulk: "name"},
	Value{typ: "bulk", bulk: "Ahmed"},
}
Now, in Redis, the PING command takes an argument and returns it instead of the word “PONG” if it is provided. So, let’s apply this:
func ping(args []Value) Value {
	if len(args) == 0 {
		return Value{typ: "string", str: "PONG"}
	}

	return Value{typ: "string", str: args[0].bulk}
}
The SET & GET commands
The next steps will be easy and rely on your knowledge of Go and data structures because the hard part is already done when we implemented the RESP and Handler.
The SET command in Redis is a key-value pair. You can set a key to a specific value at any time and retrieve it later using the GET command.
The data structure we will use is a Hash Map or map[string]string.
Let’s go to handler.go and define the SET command:
var SETs = map[string]string{}
var SETsMu = sync.RWMutex{}

func set(args []Value) Value {
	if len(args) != 2 {
		return Value{typ: "error", str: "ERR wrong number of arguments for 'set' command"}
	}

	key := args[0].bulk
	value := args[1].bulk

	SETsMu.Lock()
	SETs[key] = value
	SETsMu.Unlock()

	return Value{typ: "string", str: "OK"}
}
We use sync.RWMutex because our server is supposed to handle requests concurrently. We use RWMutex to ensure that the SETs map is not modified by multiple threads at the same time.
You can probably imagine how the GET command will work. If we find the key, we return its value; otherwise, we return nil.
func get(args []Value) Value {
	if len(args) != 1 {
		return Value{typ: "error", str: "ERR wrong number of arguments for 'get' command"}
	}

	key := args[0].bulk

	SETsMu.RLock()
	value, ok := SETs[key]
	SETsMu.RUnlock()

	if !ok {
		return Value{typ: "null"}
	}

	return Value{typ: "bulk", bulk: value}
}
After implementing the SET and GET commands, we need to register them in the Handlers map:
var Handlers = map[string]func([]Value) Value{
	"PING": ping,
	"SET":  set,
	"GET":  get,
}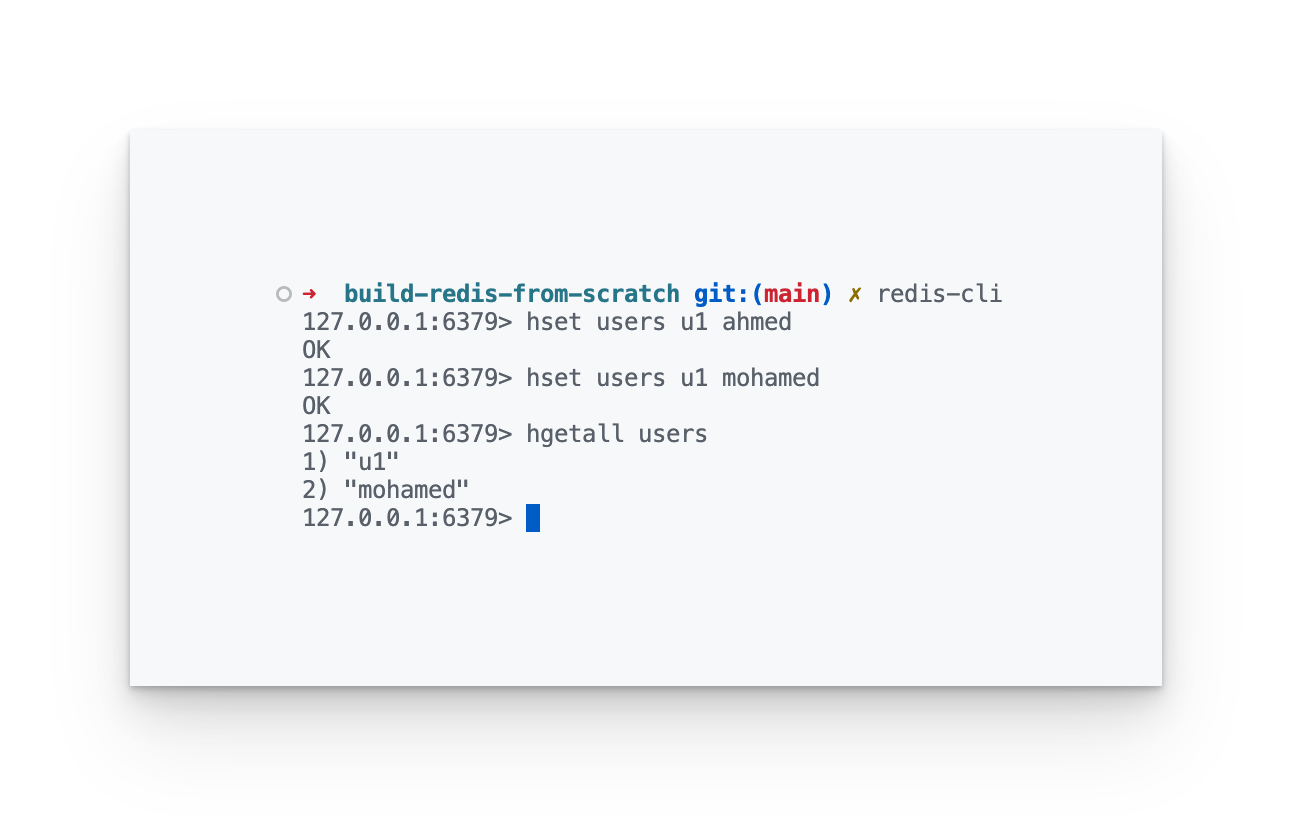
The HSET & HGET commands
In simple terms, these commands are a Hash Map within a Hash Map. It is a map[string]map[string]string. It takes the name of the hash, followed by the key and value. This allows us to store data like:
{
	"users": {
		"u1": "Ahmed",
		"u2": "Mohamed",
	},
	"posts": {
		"p1": "Hello World",
		"p2": "Welcome to my blog",
	},
}
For example, if we want to store a user named Ahmed with the ID u1, we use the HSET command:
HSET users u1 AhmedAnd if we want to store a post named Hello World with the ID p1, we use the HSET command:
HSET posts u1 Hello WorldTo retrieve the user Ahmed, we use the HGET command:
HGET users u1The code will be very similar to the SET and GET commands. The difference is that HSETs will be map[string]map[string]string.
var HSETs = map[string]map[string]string{}
var HSETsMu = sync.RWMutex{}

func hset(args []Value) Value {
	if len(args) != 3 {
		return Value{typ: "error", str: "ERR wrong number of arguments for 'hset' command"}
	}

	hash := args[0].bulk
	key := args[1].bulk
	value := args[2].bulk

	HSETsMu.Lock()
	if _, ok := HSETs[hash]; !ok {
		HSETs[hash] = map[string]string{}
	}
	HSETs[hash][key] = value
	HSETsMu.Unlock()

	return Value{typ: "string", str: "OK"}
}
And the HGET command will look like this:
func hget(args []Value) Value {
	if len(args) != 2 {
		return Value{typ: "error", str: "ERR wrong number of arguments for 'hget' command"}
	}

	hash := args[0].bulk
	key := args[1].bulk

	HSETsMu.RLock()
	value, ok := HSETs[hash][key]
	HSETsMu.RUnlock()

	if !ok {
		return Value{typ: "null"}
	}

	return Value{typ: "bulk", bulk: value}
}
We also need to register these commands in the Handlers map:
var Handlers = map[string]func([]Value) Value{
	"PING":    ping,
	"SET":     set,
	"GET":     get,
	"HSET":    hset,
	"HGET":    hget,
	"HGETALL": hgetall,
}
Conclusion
Up to this point, we have built an in-memory database that is compatible with the Redis Server for the supported commands. The difference from Redis is the remaining commands that we have not implemented yet. This can be a challenge for you to explore and try implementing them yourself.
The current issue is that we lose the data because we rely only on memory. In the next part, we will cover the last step we need, which is data persistence. We will see how we can use the AOF to save the data to disk and how to read it back when the server boots up.